File Manager
Micromine Origin & Beyond integration with Micromine Nexus requires a connection to the Nexus server. When you connect and sign-in, a link between your current Micromine Origin or Beyond project and a Nexus project is established.
-
Select Open File Manager to manage the files your local project and a linked Nexus project.

-
Click the Project tab to open the backstage menu.
-
On the backstage menu, select Nexus.
-
Select Open File Manager.

- Use the options in the toolbar to configure the File Manager display as required.
Alternatively:
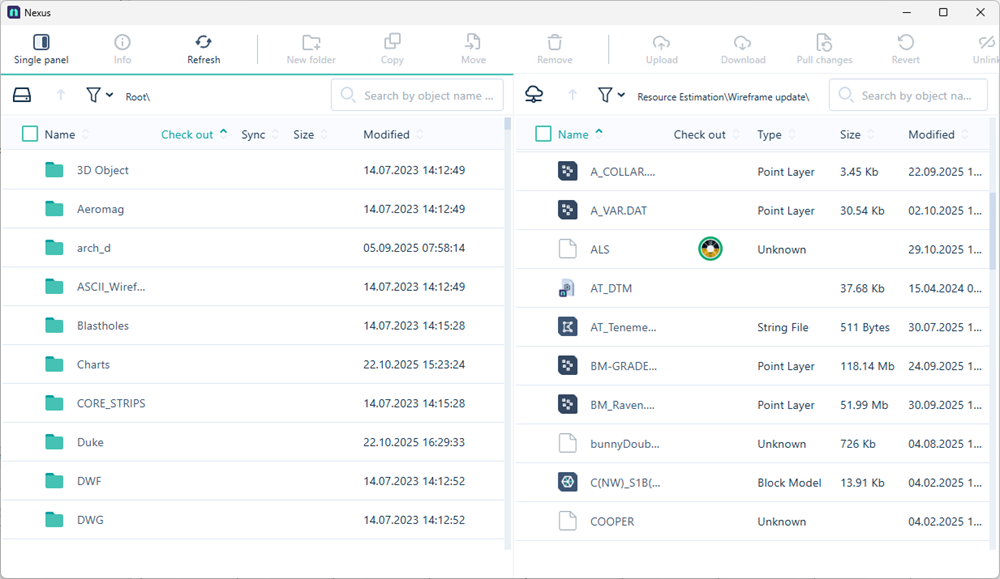
Your application project folders and files (in the left-hand pane) are shown alongside the folders and files of the linked Nexus project (in the right-hand pane):

|
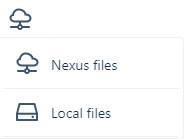
The Nexus files button indicates that the panel displays the files in your Nexus library. |

|
The Local files button indicates that the panel is displaying the files on your local machine - i.e. your Micromine folders. |
|
You can click the Nexus files or Local files button to change the view in the panel. |
|
|
|

|
Click the Up button to return to the root folder in the tree navigation. |

|
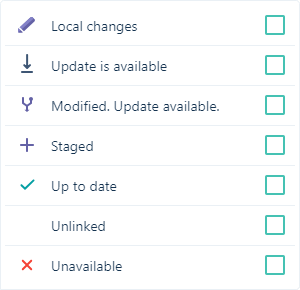
Click the Filter button to open a list of options that can be used to filter the display in the panel. Any files not matching the selected option/s will not appear in the file list. If Unlinked is selected, only files not linked to Nexus will be displayed. Files with an Unavailable status are missing information and have most likely been moved or deleted. This can happen when, for example, a DHDB file is missing any of the multiple DAT files of which it consists. Unavailable files will not sync and may not work with various Micromine Origin & Beyond processes. Using the Filter for Unavailable status, you can locate and fix these files. |
|
|

|
When a filter is applied, the Filter button will indicate that an active filter is applied. Clicking the Filter button when filters are applied will Clear All Filters.
|
|
|
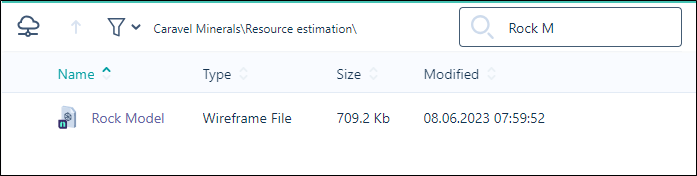
Search for
|
-
Use the options on the ribbon to manage the folders and files in your Nexus project.

Click the Single Panel button to collapse the File Manager into a single panel.
Toggle back to two panels using the Dual Panel button.


Click the Info button to open the File Info panel at the right of any selected file. Information on the file is displayed in the panel.

Click to Refresh the page. The data and metadata on the page is refreshed by querying

Click to create a New Folder in your

Click to Move to a file to another location in your

Click to Copy a file to another location in your

Click to Remove the selected file(s) or folder. The files or folder (and its contents) will be deleted from

Click to Upload files to your

Click to Download files from the

Click Pull changes to download or upload the latest version of linked files or Nexus wireframes from the

Click to Revert the selected file/s to the previous version if they have been updated.

Click Unlink file to unlink the selected file\s from the Nexus project. Only files in the explorer that are synched to Nexus can be unlinked. To relink an unlinked file, you will need to Upload it again. The Unlink file option prevents the need to unlink the entire local project.
Options for the files and folders in the File Manager are also available from the context menu. If you right-click on one or more selected files, the context menu is displayed:
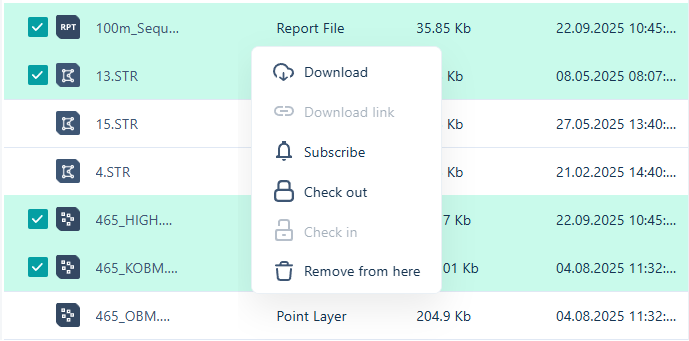
The available options will depend on the type and number of objects selected.

|
|

|
Click the Download link button to create a link to share the project. Anyone with the link can download the project folder. |

|
Click the Subscribe button to receive notifications on any updates made to the project, including new files or changes to existing files. |

|
Click the Check Out button to reserve a selected file or files for editing. While a file or object is 'checked out', no other user with access will be able to make changes to it across your workspaces and projects. |

|
When an object is checked out, click the Check In button to return the object for editing. |

|
Click the Remove from here button to remove the selected file(s) or folder from the current location. |

|
Click the Permissions button to view and modify the permissions for the selected file or folder. |