Upload
A Nexus project is typically a container for files which serve to achieve a single outcome, for example, a finalised block model or a periodic mining plan. You can link to a project when you integrate other Micromine applications with Nexus.
To upload files to the current project:
-
On the Navigation Bar, select the Project you want to upload to:
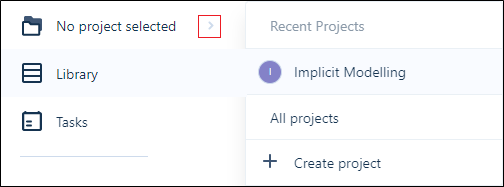
The Project Browser is opened:

-
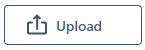
Click Upload on the Project Browser ribbon:
If there are no staged files, Windows File Explorer is opened immediately. Go to Step 3.
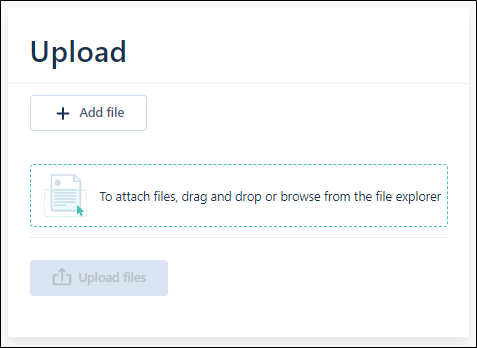
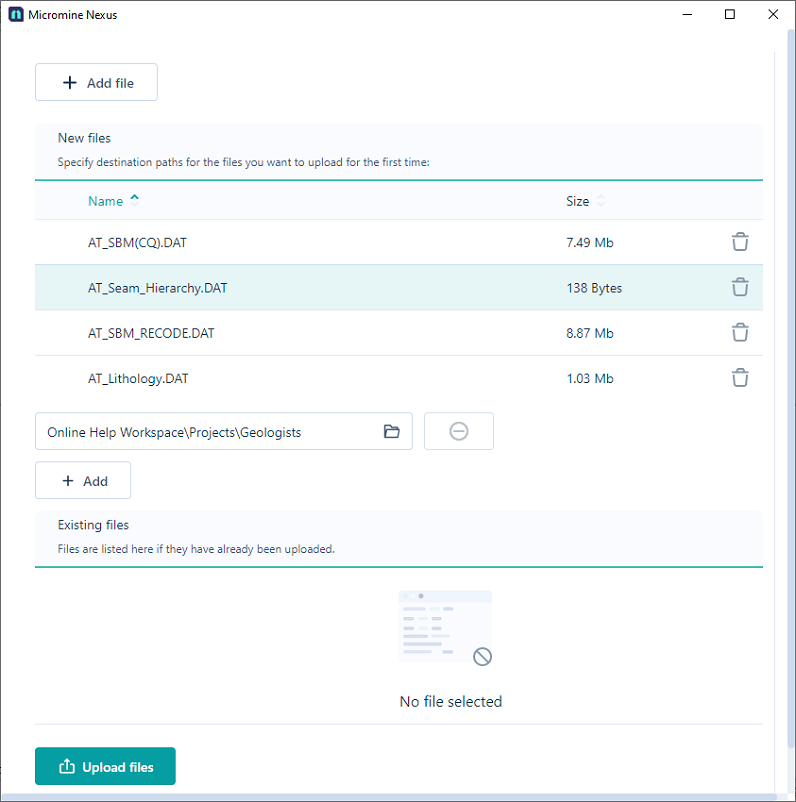
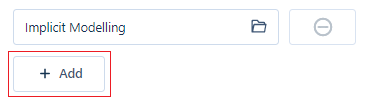
If files have been staged (previously selected for upload, but not yet uploaded), the Upload window is opened. Click Add File to add to the list of files to be uploaded:
-
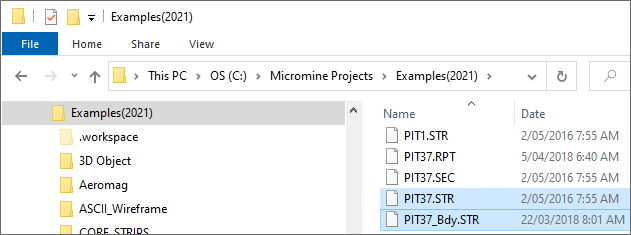
In Windows File Explorer, navigate to the location of the files you want to upload and either:
-
Select the files you want to upload and click Open:
-
Or use the mouse to drag and drop the required files over the Upload window:
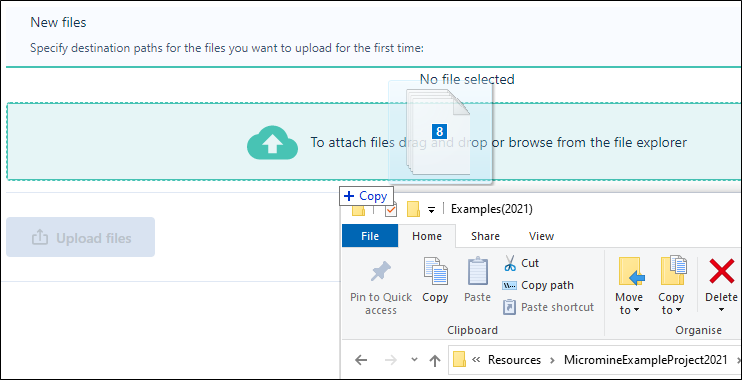
-
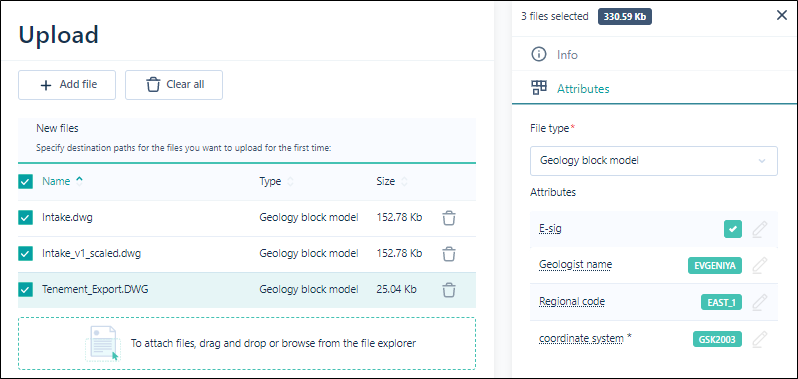
The files you have selected are shown in the Upload window.
Note: If you have uploaded a large number of files they will be listed across multiple pages.
When a file is selected, the properties of the file are shown in an Info pane:
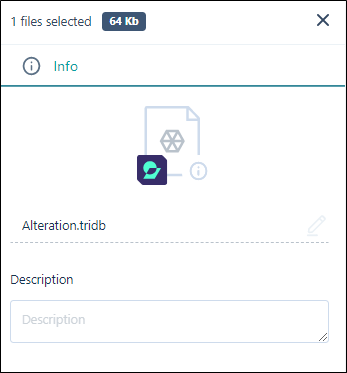
Initial file properties are blank, however these will be updated once the file is uploaded.
File Type and Attribute Values
-
Click to open the Info > Attributes tab:
The Uploader will attempt to detect the file type, as a known type or Unknown, based on the file extension. Accept the default file type or select a file type from the drop-down list. You can set this for multiple selected files of the same type.
 Required (mandatory) attributes for a file type must be entered, otherwise the upload cannot proceed:
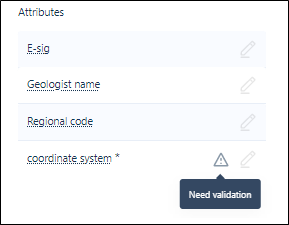
The attributes of the file type (if any) are listed:

Once all mandatory attribute values have been specified for all files, the upload may proceed.
Note: If multiple files of the same type are selected, Attributes can be set for all files:
Destinations
-
To proceed with the upload, at least one upload destination must also be specified.
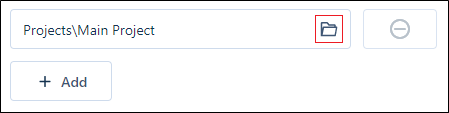
To edit the destination, click on the folder icon to the right of the destination path.
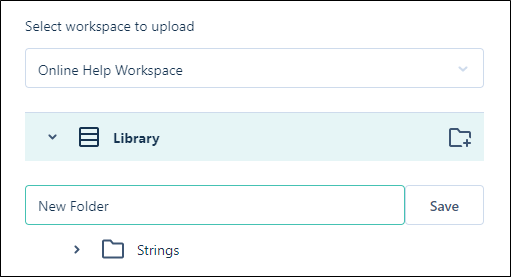
- If required, you can create a new folder within the destination using the New Folder button at the right of the selected destination.
-
To delete a destination, when more than one destination has been created, click on the icon to the right of the destination path:

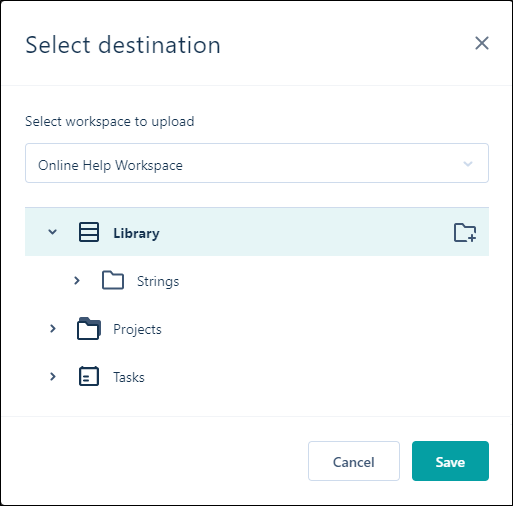
Select the folder to upload to.
Note: Within a workspace, project storage and task storage are completely independent of your workspace library storage. You can select any workspace library, project folder or task folder as the upload destination.
When you upload files to multiple destinations, instances of the same file are shown at each destination. Version control is applied at the file level.
A Nexus project is typically a container for files which serve to achieve a single outcome, for example, a finalised block model or a periodic mining plan. You can link to a project when you integrate other Micromine applications with Nexus.

Clicking the button will display a blank field for entering the name of the new folder, and a Save button to create it.
-
To add a destination, click the Add button below the destination path:
-
Click Add file if you need to add more files and set up the properties and destination of those files.
You can click on the trash can icons to remove individual files from the list of files to upload.
-
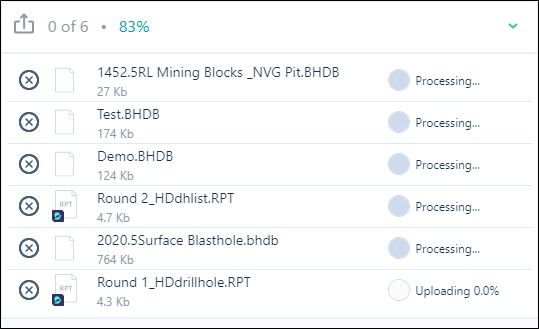
Finally, click Upload Files to upload files to the destination(s) you have specified and with the values you have specified.

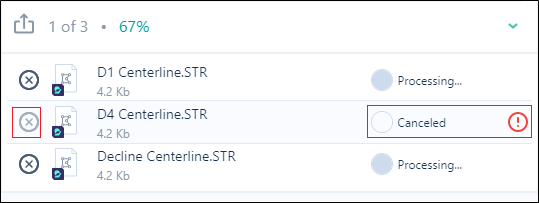
The progress of the upload of the files you have selected is shown:
You will receive confirmation when the upload is completed:
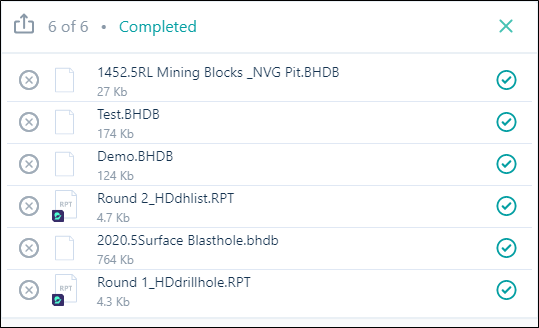
Note that you can cancel an upload at any time by clicking on the Delete icons to the left of each file name:

When the file transfer is complete, you can close the Upload window:

Now, when you select a file in your workspace library, project browser, or tasks folder, the properties of that file are populated:
-
The icon associated with the file type of the file.
-
The name and an optional description of the file.
-
Versioning information including the author (who uploaded the file) and any contributors (other users who updated the file).

-
Use the options on the ribbon to manage your project folders and files:
|
|
Click to Upload files to your |
|
|
Click to Refresh the page. The data and metadata on the page is refreshed by querying |
|
|
Click to create a New Folder in your |
|
Click to Show unavailable files in your |
|
You can toggle off the display of unavailable files with the Hide Unavailable button. |
|
|
Click to Download the selected file(s) or folder in your |
|
|
Click Copy to to copy the selected file(s) or folder to another location in your |
|
|
Click Move to to move the selected file(s) or folder to another location in your |
|
|
Click Attach to task to attach the selected file(s) or folder to a task in your |
|
|
Click to Delete the selected file(s) or folder. The files or folder (and its contents) will be deleted from |

|
If you require access to an unavailable file, you click the Permissions button in the panel at the right. |

|
Click Subscribein the panel at the right to subscribe to a selected file or files in your |

|
Click the Share Link button to create a link to download a selected file that can be shared with other users. A URL is created which can be provided to external people without access to Micromine Nexus, in order to share data and allow the download of the file. You will be prompted to select a lifetime for the link to be valid - 1 day, 1 week or 1 month. After the lifetime has expired, the file will not be accessible through the generated link. |
|
|
Toggle between Show Search and Hide Search to display the text search field for the |

|
Toggle the Show Folder Tree icon to display the folder tree to the left of your |
|
|
Toggle between Icon Mode and List Mode to change the display of the |


Note: To upload to a different workspace or multiple workspace/project destinations, select the global Upload option on the Navigation Bar.