Link
Micromine Origin & Beyond integration with Micromine Nexus requires a connection to a server. The URL you specify will either be an external address (cloud) or a local address (on premises).
The Server URL of the Nexus server is nexus.micromine.com for all users (except on-premises users). Click Sign In to connect to Nexus. A Sign Out option is available instead when a link is active.
For On Premises users, the Nexus Administrator will have set the correct URL for your connection.
Request an account from your Nexus administrator, who will provide you with the credentials you need to sign-in.
Please note: If you have not yet created a Nexus project, you will need to sign-in to Nexus (from your Internet browser) and create a project prior to using the Link option.
Link Project
To link the current project to a Nexus project:
-
Click the Project tab to open the backstage menu.
-
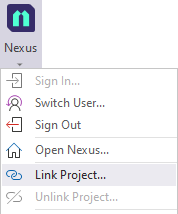
On the backstage menu, select Nexus.
Alternatively:
-
-
You will be prompted to select a Nexus project to link to:
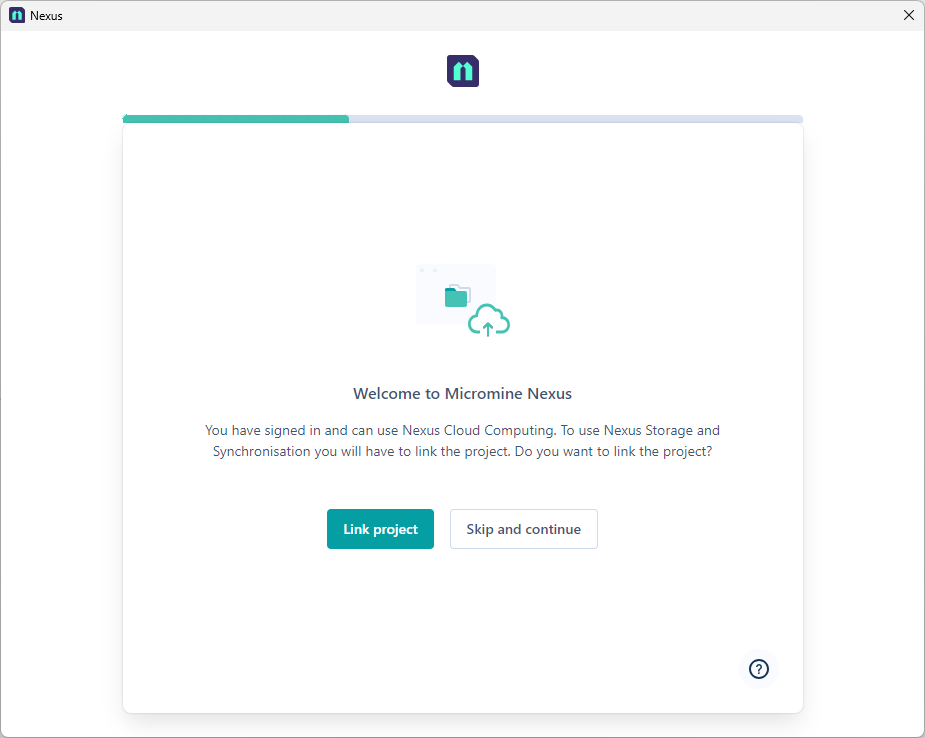
As displayed, you need to link to a Project in order to use Nexus Storage and Synchronisation features. If you don't want to use those features, you can Skip and Continue.
From the Help icon at the bottom right of the window, you can open video tutorials on integrating your project with Nexus:
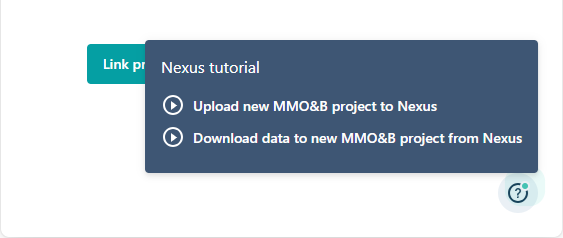
To view these tutorials now, use the links that follow:
To link a project,
-
Click Link project.
If you only have one workspace, you will be prompted to select a project in that workspace. If your subscription plan supports multiple workspaces, you will be prompted to select a Nexus workspace and then click Continue:
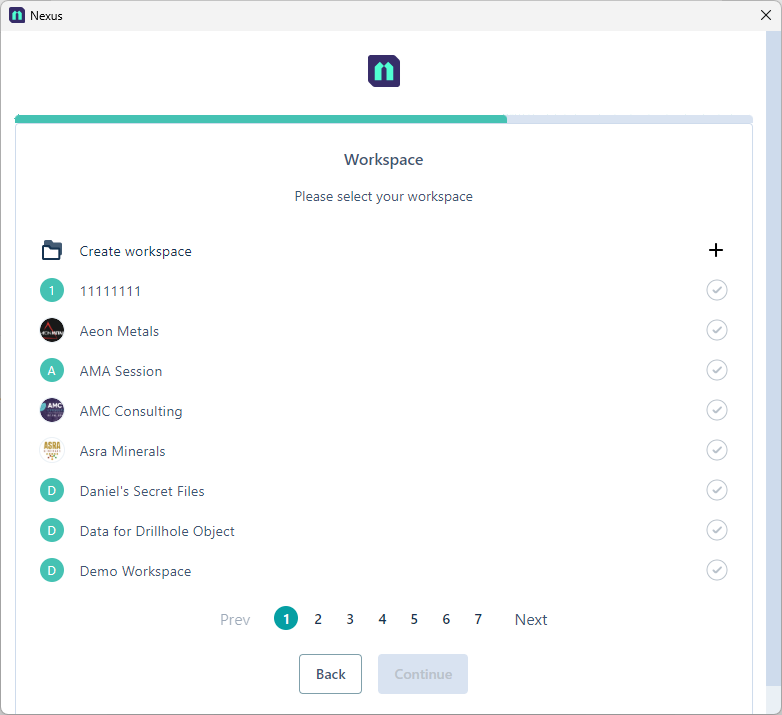
The Projects in the selected workspace are displayed. If required, you can create a new Workspace to link to using the Create workspace option.
-
Select a Nexus Project and click Link to link your Micromine project to the Nexus project:
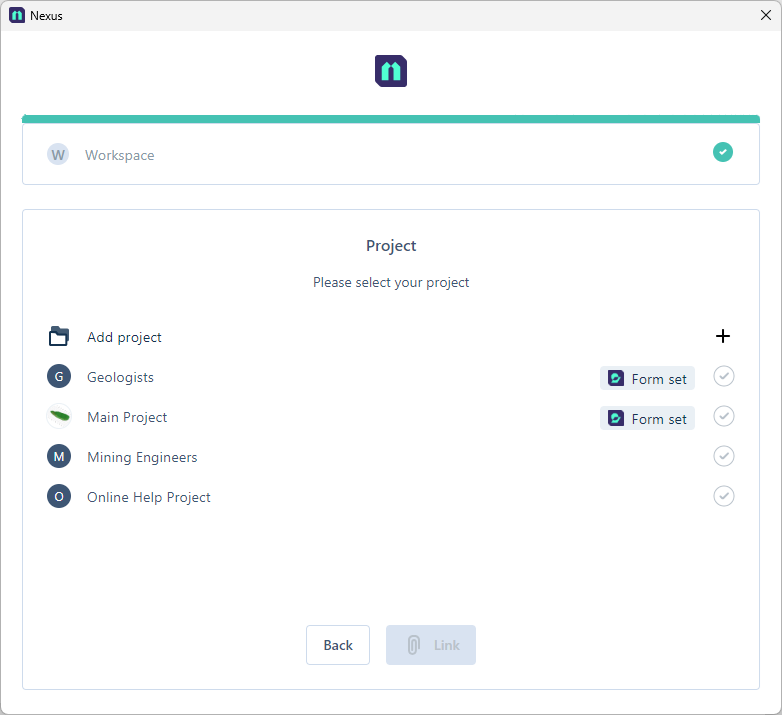
Projects which contain synchronised form sets will display a label.
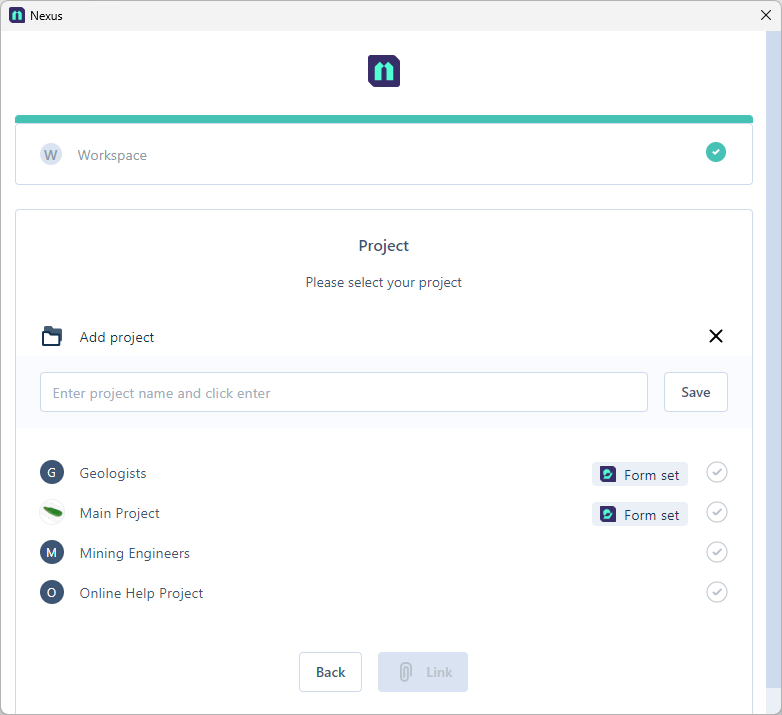
If required, you can create a project to link to using the Add project option:
After successfully linking to a Nexus project, the connection parameters you have specified and a "Ready" status icon are shown on the application status bar:
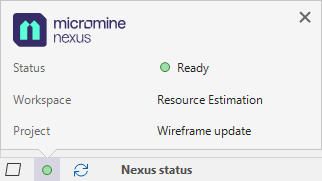
If there are any issues with your connection, such as scheduled downtime of the Nexus server, the status icon will change colour and an alternate message will be displayed.
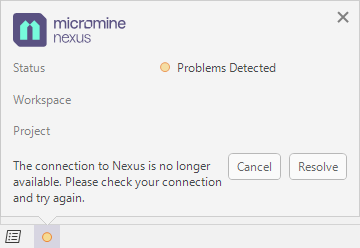
You can use the Cancel or Resolve buttons to manage the issue, or:
-
-
Use the options on the Home tab, in the Nexus group, to manage your connection to the linked Nexus project.
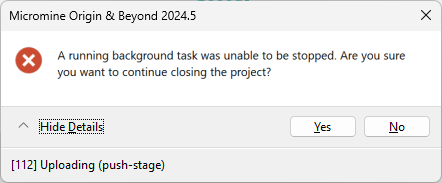
When you have linked your Nexus project, it is active within your Micromine Origin & Beyond instance. For this reason, when you are closing MMO&B, you may receive a warning if a background task is still running:
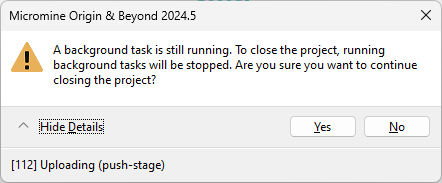
Details of the task/s in operation are available at the foot of the message. You can select Yes or No to decide if you want to continue closing the project.
If a running task cannot be closed, you will be informed with a further message and asked to proceed with closing the project or cancel it and return.