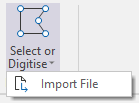
Select or Digitise Polygons
-

(Alternatively, select Import File to load polygons from a String file.)
-
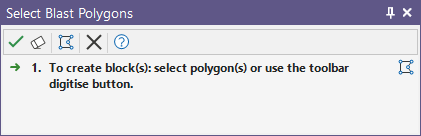
If you have chosen to select or digitise polygons, take the appropriate action and then click the Accept button (right-click):
-
Enter properties in the New Blast Block Properties form:
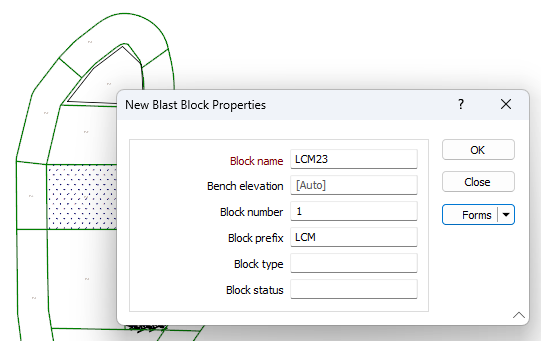
Enter a unique identifying name for the new block in the Block Name field. This field is compulsory, as indicated by the red label.
Enter the Bench Elevation value for the block in the field provided.
The number for the block can optionally be entered in the Block number field. This number will be incremented in numbering any subsequent blocks created, depending on the polygons selected.
If you enter a Block prefix, the new blocks will be named with the prefix and any applicable number.
If required, enter the Block type for the new block in the field provided,
Optionally, enter a value for Block status in the field.
-
Finally, click OK to create the new block based on the polygons you have selected or digitised.
You can use the Active Block drop down in the View section of the Blast Design ribbon to select your new block/s for display.

Editing the block polygons
You can also interactively edit the polygons you have digitised or imported using existing String Design tools (Copy, Move, Insert Mode, Delete) and block-specific tools (Merge Blocks, Split Blocks).
Note that you can copy selected blocks in the same way you can copy selected rows. When you drag selected blocks, the blocks are moved. If you hold down the CTRL key when you begin dragging, a copy of the blocks is created. Any holes in the block are also copied.