Align View to Working Plane
Use the options on the Vizex tab, in the Working Plane group, to interactively create and edit planes in Vizex. You can save the (Dip, Dip Azimuth and Pitch) parameters of the plane to a form set which can be used as search parameters for anisotropic trends.
A plane may also be saved as a surface, allowing for the faster interpretation of grade trends, linear structures and boundaries.
On the Vizex tab, in the Working Plane group:
- Click to Show / Hide the working plane:
![]()
- Click to Define a new working plane from the current view:
- Define a new working plane from the Current View
- Define a new working plane from Drag (by dragging out one of its edges)
- Define a new working plane from 3-Point (by selecting three points that define the plane)
![]()
Alternatively, select an option from the menu:
-
Click Edit Plane (or select the same option from the Vizex right-click menu) to manually set the (Strike, Dip, Pitch, Width and Length) parameters of the working plane.
![]()
- Click Align View to align the view to the current working plane. This is the same as Move view to plane, but also rotates the view to show the plane face-on (double clicking on the plane does this too):
- Click Create Wireframe to create a wireframe from the current working plane and auto load it.
![]()
A Move View to current working plane option is available in the menu. This is equivalent to using View Selection on a Vizex form object.
![]()
![]()
A Create Search Ellipsoid option is available in the menu:
![]()
You will be prompted to save the (Dip, Dip Azimuth and Pitch) of the plane to a data search form set before the search ellipsoid is auto loaded:

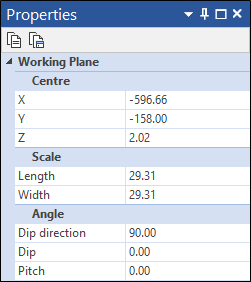
Properties
When a working plane is selected in Vizex, you can edit the properties of the plane:
Alternatively, use the on-screen handles to change the scale, position and orientation of the plane:
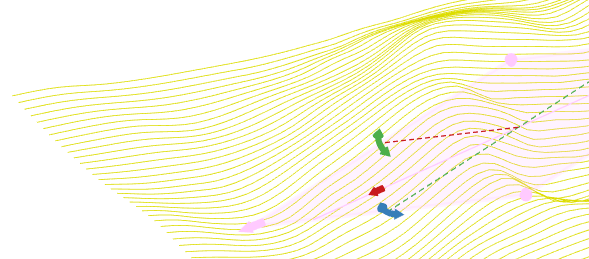
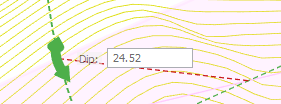
Click and drag the green curved arrow handle to change the dip of the plane (between 0° and 180°):
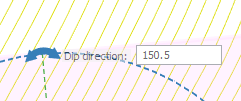
Click and drag the blue curved arrow handle to change the dip direction of the plane (between 0° and 360°):
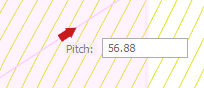
Click and drag the red handle to change the pitch of the plane (between 0° and 180°):
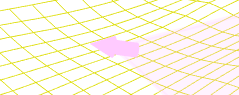
Click and drag the pink handles to adjust the scale and the centre of the plane:
The plane uses the Overlay Colour on the Selection tab of the Project Options | Vizex form.
You can also:
- Drag the plane with the mouse to change its position.
- Press the U, V or W keys to rotate around the X, Y or Z viewing axis
- Press the X, Y or Z keys to rotate around the X, Y or Z axis
- Press delete while the plane is selected to remove it.
- Use Undo and Redo to undo and redo recent changes.