Application
This
Form Set Imports
On the Home tab, in the Forms group, when you select Form Set Manager > Import to import multiple form sets at the project level, you can now select an option to import form sets from the (FLDVAL*.BDB) form set database of another project.
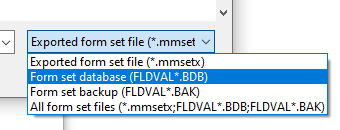
This change also applies when you click the Forms button in any open form to import a form set relevant to that particular function.
There are two Import modes:
-
Import all sets
Except for ignored sets (i.e. already existing and identical form sets), all of the form sets in the selected file will be imported. In this mode, you cannot interact with the list of form sets, which is completely greyed-out.
-
Import selected sets
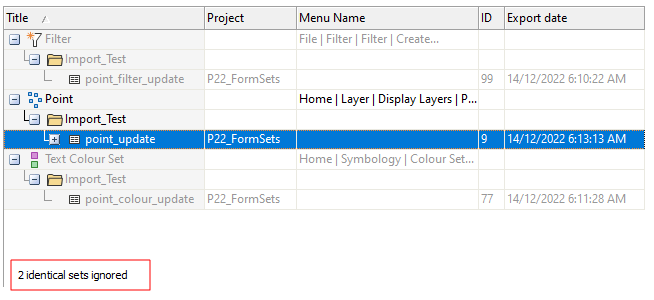
Interactively select the form sets you want to import from the list of form sets. This is the default when the source file is a FLDVAL database. Note: If you have chosen to Show ignored form sets (i.e. already existing and identical form sets, those rows are greyed-out and cannot be selected for import.
The number of identical sets ignored is shown at the lower-left of the form sets window:
Manage Backups
The Manage Backups utility available via the Form Set Manager is now accessible when you click the Project tab to open the backstage menu and click on Info to view Project information.
![]()
The clarity of the Form set Backups dialog has also been improved and more information about the context of each backup, e.g. the version performing the backup and the reason it was done, is now provided.
The first time the project is opened in a new version of the application, a special “Version Restore Point” backup is also created to provide a restore point in the event there are form set upgrade issues or other problems.
If you don't want a backup to expire, you can now choose to Keep the backup:
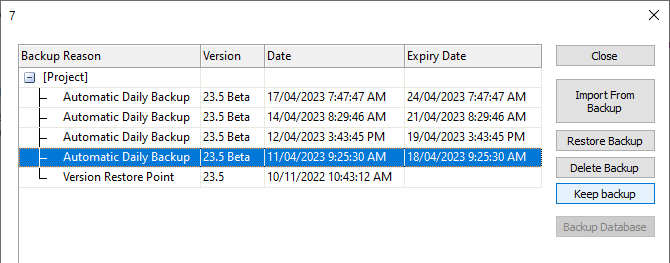
The expiry date is removed. To discard the backup, click the Don't keep backup button.
Remap Paths
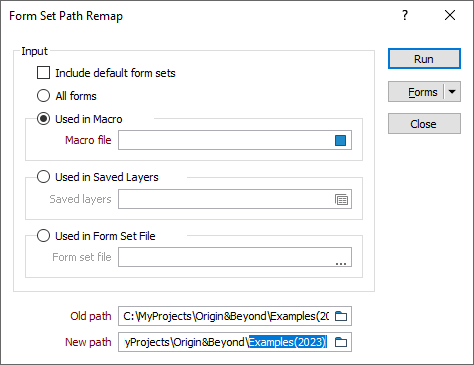
On the Home tab, in the Forms group, you can now select Remap Paths to remap the paths for all the form sets in the form sets database of the current project, or remap the paths for a subset of the form sets in the current project.
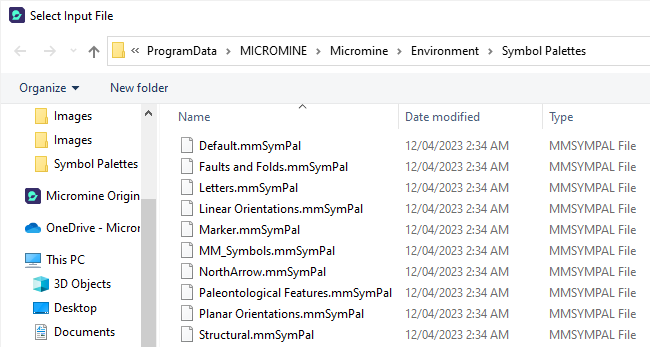
Symbols and Hatch Sets
On the Home tab, in the Symbology group:, you can now select Symbol Sets | Edit Symbol Palette to create or modify a symbol palette directly.
In addition to the Default symbol palette, several themed symbol palettes are now available for selection. This includes the “MM Symbols Extra” True Type Font, which has been extended with five new symbols that can be used in Development Drilling and Blast Design.
You can select these palettes whenever you select a symbol in a form:
The symbols included in the themed palettes have been collated from one or more Unicode True Type Fonts (TTFs). A new toolbar makes it easier to edit, load and save symbol palettes and quickly add, insert or delete symbols.
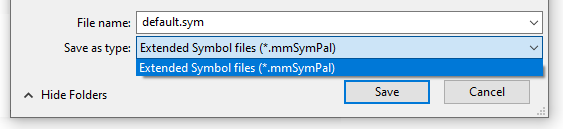
Old *.sym Symbol palette files can still be loaded and saved in the same format:

New Symbol palettes can only be saved in the newer *.mmSymPal extended symbol palette file format, which supports both ASCII and Unicode True Type Fonts.
Update Nexus Capabilities
A method to enable or disable new Nexus capabilities within Micromine Origin & Beyond has been added.
When a project linked by a previous Micromine Origin & Beyond version is opened (or Nexus deployment changes to offer new known connection capabilities), the application will prompt you to make use of the new functionality.
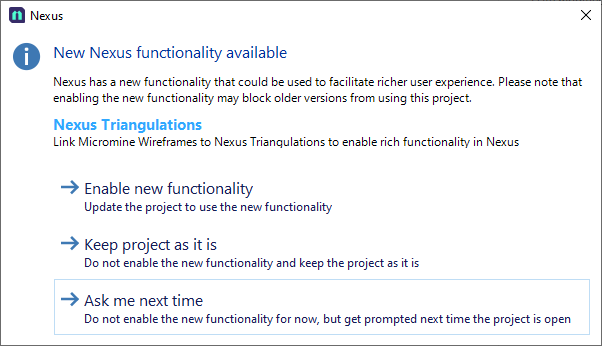
Select an option from the prompt to proceed to open the project with Nexus updated or not. These settings may be changed later in the Nexus Options dialog.
Please be aware that new connection capability settings only apply to newly-published objects. The settings for existing objects will not change.
Nexus Options
On the File tab, in the Nexus group:, you can now select an option to configure system-wide options for Nexus.

The Nexus Options form contains the option to Publish wireframes as Micromine .TRIDB files.

With this option selected, the wireframes you create in Micromine Origin & Beyond will be uploaded to Nexus storage and stored as a .tridb file, and every existing wireframe (a .tridb file already living in Nexus) will be directed to Nexus Wireframe storage when the user uploads a new version to Nexus. These files are not viewable in the Nexus viewer.
This option is off by default, so every new wireframe (.tridb) will be uploaded to Nexus as a Nexus wireframe and be viewable in the Nexus Viewer.
Vizex Layers
Nexus integration for Micromine Origin & Beyond Annotation and Grid Surface layers has been improved. This includes being able to upload and update those layers via file prompts and the right-click menu in the Vizex Layers Pane:
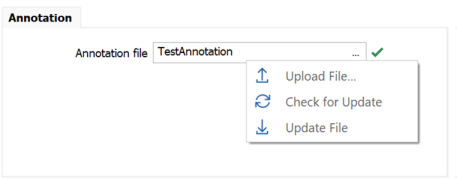
In Nexus, Annotation (.MMAXL) and Grid Surface (*.GRD) file types have been added:


Tasks Pane
A new Tasks panes have been added to the application. The Tasks pane is mainly used with Nexus integration and provides a history of tasks.
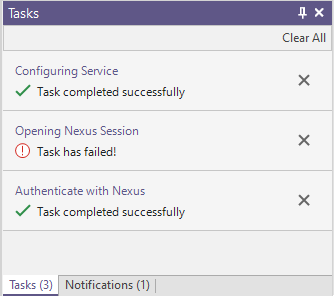
To open the Tasks pane, clicking the Background Tasks icon at the bottom left of the application status bar:
![]()
Project Substitutions
On the Home tab, in the Projects group, you can now select Project | Substitutions to define substitution variables, and their values, for project-wide use.
![]()
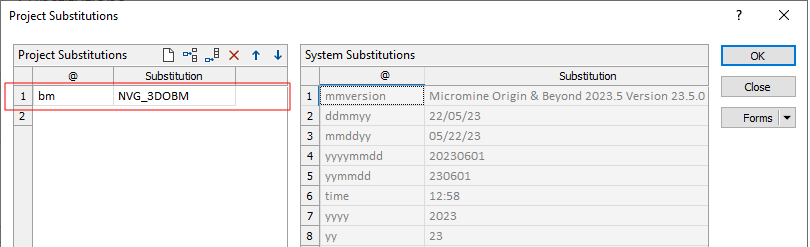
Predefined system (global) substitutions are also shown for easy reference. In this release, two new system substitutions have been added (an all-numeric format allows these dates to be stored and sorted in a numeric field column).
| Parameter | Description |
|---|---|
| @yymmdd | Current date, e.g. 230601 |
| @yyyymmdd | Current date, e.g. 20230601 |
Notifications
A Notifications pane have been added to the application which provides a history of notifications. You can also choose to silence notifications, group notifications together or delete them:
