Hole Types
![]()
Every hole has a Hole Type property. The tools that can be used to add drillholes to a round (e.g Add Drillhole, Add Holes on Line) require the selection of the hole type for the holes being added.
The application provides a list of predefined hole type names that are typically used in round design. The Hole Types form allows you to optionally edit the names of the predefined types by entering custom names in the Name column.
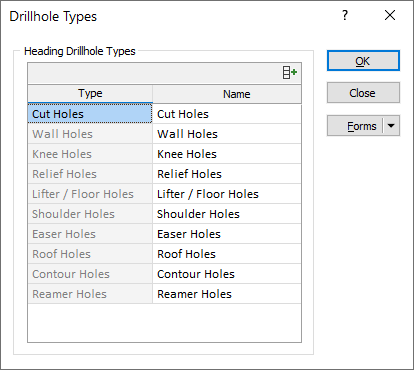
![]() To restore the default list of named types, click the Auto-fill button above the Name column:
To restore the default list of named types, click the Auto-fill button above the Name column:
Following is a list of definitions for the application's commonly used predefined hole types.
| Cut Holes |
The holes that make up the burn cut. |
| Sidewall / Wall Holes |
Holes along the walls. |
| Knee Holes | Holes close to the floor of the face. These holes may be parallel to cut holes, but may be drilled flat or slightly downwards to reduce burden at the toe of the lifter blastholes. |
| Relief Holes | Uncharged holes in the cut. |
| Lifter / Floor Holes | Holes along the floor of the developed round / face. These holes are typically drilled on a downward gradient to ensure the floor is well broken below the floor grade line. |
| Shoulder Holes | The holes immediately below the perimeter holes of the roof. |
| Easer Holes | Hole surrounding the cut area. |
| Roof / Back Holes | Holes around the upper region the face /round adjacent to the roof. |
| Contour / Perimeter Holes | Blastholes which are formed at the boundary of the tunnel - for example sidewall, floor or roof holes. Explosive loading densities in these blastholes are generally lower than those in the remainder of the blast, as their prime requirement is to minimise back-breakage and provide a good contour. |
| Reamer Holes | Larger uncharged holes in the cut created by a reaming bit. |
Forms
Click the Forms button to select and open a saved form set, or if a form set has been loaded, save the current form set.
By design, the Forms button is not available for loaded Vizex layers (i.e. when opening the form set properties of a layer in the Vizex Layer Display pane). In Vizex, the Forms button is only available for new forms opened via the Home tab or the Vizex tab, in the Layers group (or by double-clicking on a form type node in the Vizex Layer Types pane).
Save and Save As
Click the Save button to save the changes you have made to the form set. Click Save As to save your changes as a new form set. Save As will default to the first available form set number.
Reset
Click Clear to clear the form of all values and reset the form to its default state. In the case of tabbed forms, set the first tab as the active tab.
Undo and Redo
Click Undo (CTRL + Z) to undo recent changes in the form. After an Undo, click Redo (CTRL + Y) to restore the last change that was undone.
Collapse
Collapse (roll-up) the form to preview a chart, or preview the results of an operation in Vizex, or obtain input values from Vizex, the Property Window, the File Editor, or the Plot Editor.