Select a hatch
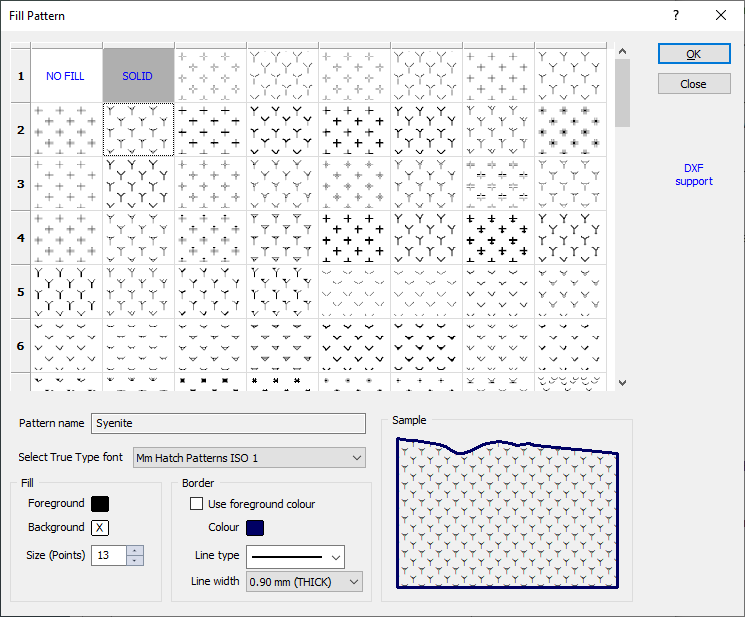
When you double-click on a hatch icon, you can select a hatch and define its characteristics in the Fill Pattern dialog.
Hatch characteristics
Begin by selecting the True Type Font (TTF) containing the hatches you want to use in the hatch set. The first two hatch patterns are always the same, regardless of which TTF you have selected. They are NO FILL (Transparent) and SOLID.
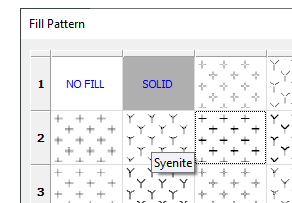
The next step is to select a hatch. You can scroll down the list of hatches to display the entire contents of the font. If the name for a hatch pattern has been derived from a geological, geophysical or mineralogical standard, a tooltip is shown.
Note that hatch patterns drawn in blue natively support DXF export.
When you select a hatch, the pattern name (if any) is shown. You can set the foreground and background colours of the pattern, and its size. The changes will be displayed in the sample. Remember that 1 point (pt) is 1/72”, so 1mm is about 2.88 pt. The sample in the bottom right of the selection dialog shows the size correctly. In a dialog that displays a selected hatch, the icon, representing the hatch, does not reflect the true font size.
In a display, the hatching will be clipped to a defined area, for example, an outline. You can control the colour of the line drawn around the boundary of the outline. The colour of this line can be set to be the same as the foreground colour of the hatch. This is a useful feature when the hatch foreground colour is controlled by a colour set. If you always want the border colour to be the same, clear Use foreground colour and select another colour. To suppress boundary line altogether, select NULL as the border colour.
You can also select a line style and (THIN, MEDIUM, THICK, or Custom) line width for the line around the extent of the hatch.
Null backgrounds and foregrounds
A Null Foreground colour disables the Background colour and Size parameters. The effect is the same as selecting a Null hatch pattern.
A Null Background colour is effectively a transparent background. All hatches in previous versions of Micromine used this attribute.
To set a hatch pattern to Null, click on the Hatch icon and then press the Delete key. A null [x] symbol will be displayed instead of a hatch pattern.
Click the OK button to complete the process.