Export XML
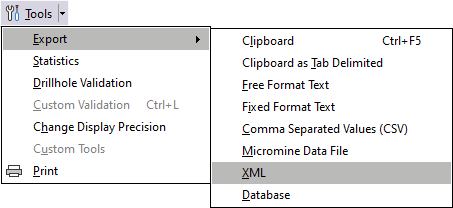
Use the Tools | Export | XML menu option to export your data as an XML file.
Select the fields to use for exporting to XML.
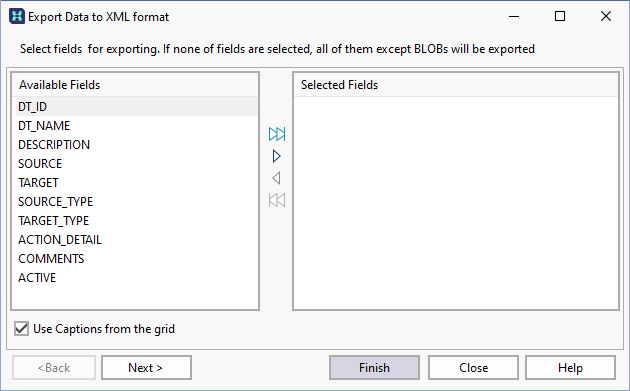
Select fields for export
Select and unselect the fields you want to export from the Available fields pane. If necessary, you can use the Select all and Clear all buttons prior to making individual field selections.
If you use the Select All button, you cannot change the order of the fields that have been moved to the selected Fields pane. To specify a new order, use the Select Current button to move each field in the order you want to export them.

|
Select All |

|
Select Current |
|
|
Clear Current |
|
|
Clear All |
Use captions from the grid
By default, true field names are displayed in the left-hand pane. If you select this option, the display names in the data view are used instead.
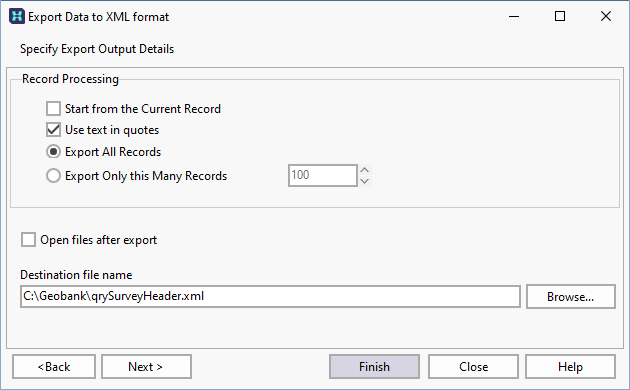
Record Processing
Specify which records are to be exported, some or all of them, starting from the start of the file (the default) or starting from the current record.
If you are configuring a task in Unattended mode, be aware that you should use the full UNC path for any mapped network drive: for example, \\server001\data\reports\ instead of N:\Reports. For detailed information, see Automation.
Finish
Click Finish to begin the export process. A confirmation form is presented.

Click Yes to continue.
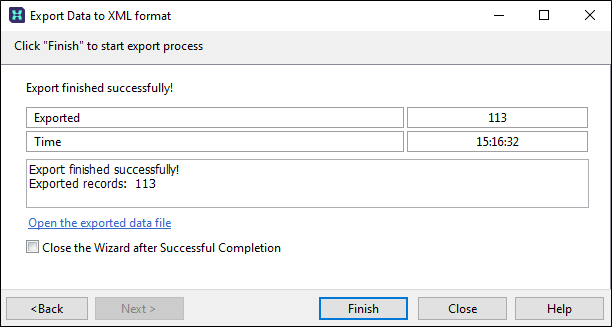
The Export wizard remains open until you click Close.
Alternatively, you can select the Close this Wizard after Successful Completion check box option to close the wizard automatically once the export is complete. You also have the option to open the exported data file.