Style Sheets
This topic describes the main concepts of using Style Sheets in Advanced Reports.
Why use Style Sheets
Using Style Sheets gives quick access to a considered style across a report or all reports. These days, many companies have directives on fonts and styles, so a Style Sheet could be set up to match that directive or perhaps one has already been made which can simply be imported. These reports may also be re-used at different levels and for different audiences where presentation is paramount. On the flip side of this, inconsistency of style can make reports harder to read and look disorganised, detracting from the message of the report.
Style Sheets
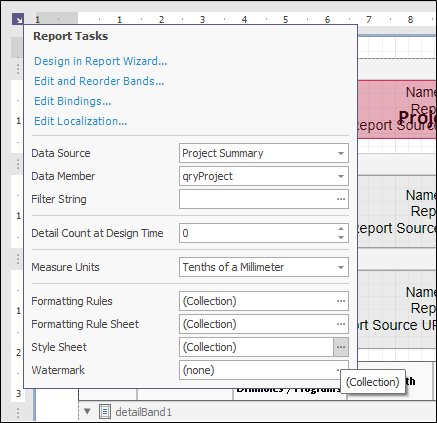
You can use the Styles Editor, to manage style sheets and to customise them. Style sheets are stored along with the reports contents. You can create many style sheets and use them as required. One way to access the Styles Editor, is to click the Report Smart Tag found in the top left corner of the working area. This will show the Report Tasks. Click on the ellipsis (...) at the end of the Style Sheet row.
Starting from scratch
The first time, there will probably be no Font set, so set an appropriate one. The toolbar along the top has options to Add, Clone, Delete, Clear all, Delete unused, Load from file and Save to file.
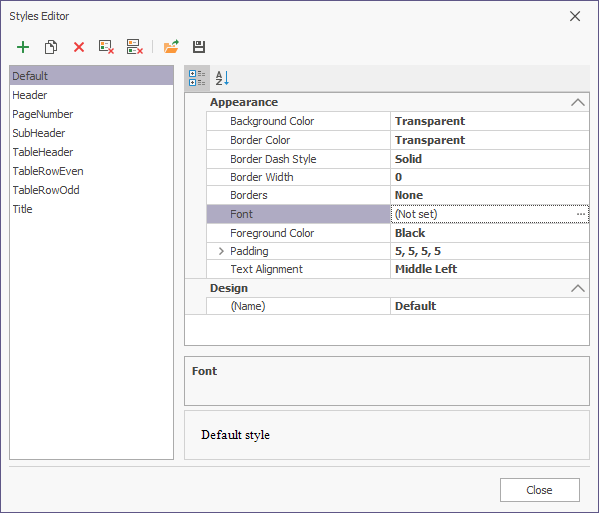
If no Style Sheet imports are available, set up Default with at least a Font and a Size. To set up a consistent style, clone Default a number of times. Name each clone, which will order them alphabetically. Finally, set the properties for each style. Use the same process to add more later.

Importing a Style Sheet file
In the Styles Editor toolbar, there is an option to "Load styles from a file" as well as a "Save styles to a file". The file extension for Advanced Report Style Sheet files is *.repss.
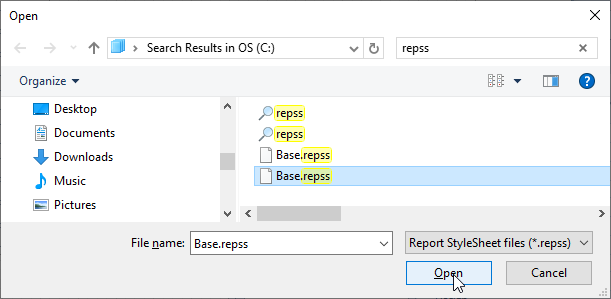
Be aware that importing a Style Sheet file will import all the Styles in the file with the names used in that file which will overwrite any existing Styles with the same name. This will happen without warning as soon as you click Open! For example, your report has a Default which uses Tahoma font. When you load a file which has a Default that uses Arial, your Default is now Arial. For this reason, it is worth saving your Style Sheet to file before loading a file and also using a good naming convention. Also remember that the styles are listed alphabetically, so RowEven appears by RowOdd, which would probably not be true of EvenRow and OddRow.
Assigning a Style
To assign a particular style sheet to a control, set its Style property to one of the styles stored in the style sheet collection.
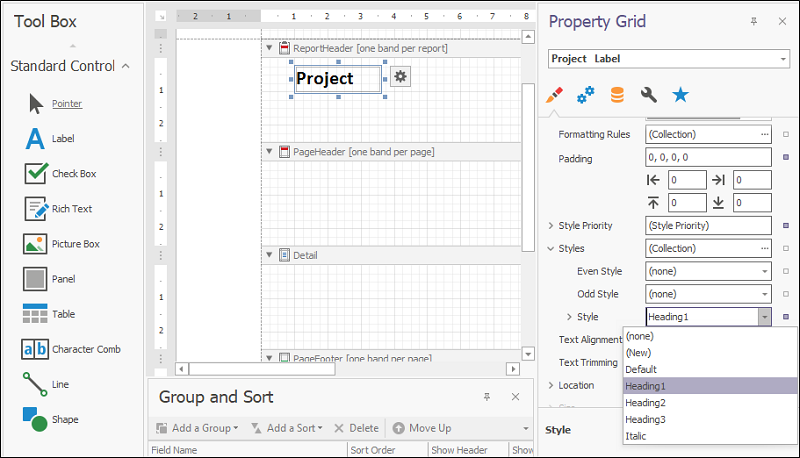
A style that is assigned to a band applies to all of the controls that the band contains.
|

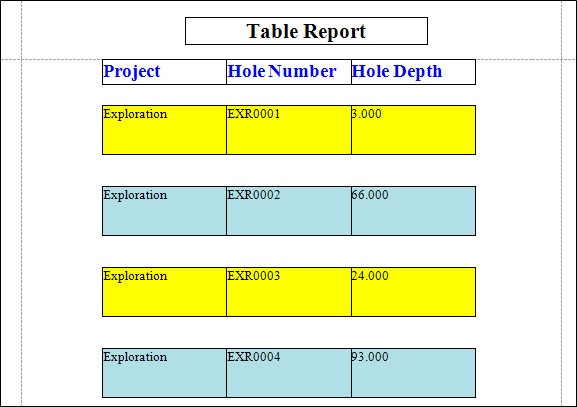
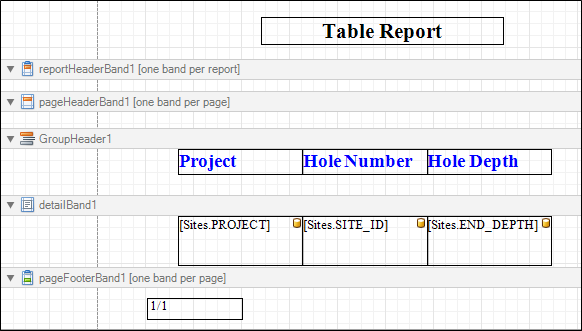
- Open or create a Table Report with the following structure.
- To manage a report's style sheets , click the report's smart tag and in the Report Tasks actions list, click the ellipsis button (...) for the StyleSheet property.
This will invoke the Styles Editor. The menu in the Styles Editor allows you to add, delete and modify stylesheets.
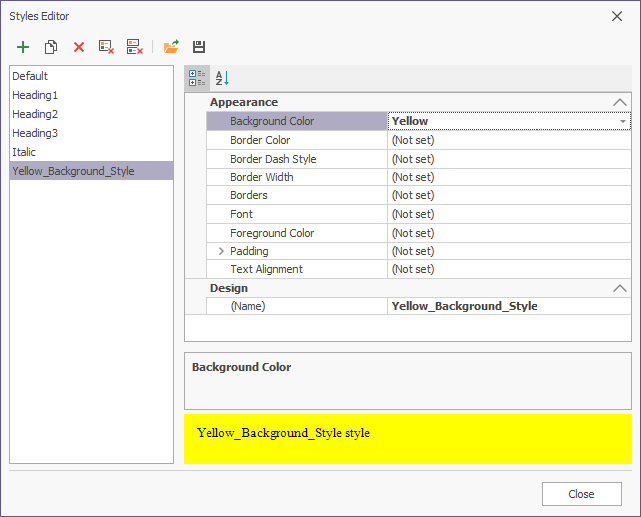
- Click the Add a Style
 button, change the background colour property to Yellow and save the results as Yellow_Background.
 - Click the Add a Style
 button, change the background colour to PowderBlue and save the results as Blue_Background.
To change the name of the stylesheet, click in the Design | Name property and enter a new name.
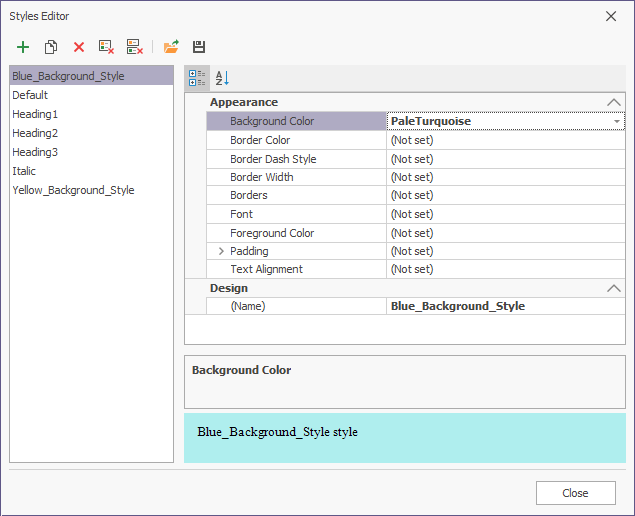
You now have two styles files stored in the report, one which shows the background colour of the cells to be Yellow and one that changes the background colour of the cells to be PowderBlue.
- Select the table cells in detailBand1 by dragging a box around them.
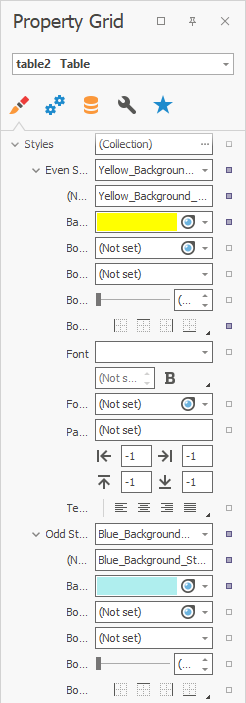
Using the drop-down lists, set the Even Style properties to Yellow_Background and the Odd Style properties to Blue_Background.
In Print Preview, the table will now display with rows alternating between the two colours you have set in your styles files.