Multi-Column Report
Overview
A Multi-Column Report is a report which represents its data in multiple columns or rows depending on the current multi-column settings. This may be useful, when every Detail band shows only a small amount of data and it is necessary to print the next appearance of the Detail band in a column right next to it, so as to occupy the entire page width. This approach may be useful when creating cards or mailing labels with the same content, and it is necessary to print a lot of cards of the same size on many report pages. The multi-column mode can be specified via the MultiColumn property. To enable the multi-column mode, set the Mode property to a value other than None.
Create a Multi-Column Report
- Create a new Advanced Report or open an existing one.
- Fill in the details for the identity properties.

- Double-click on the Data Sets link in the Property Editor form.
- Click the plus icon to add a new Data Set.
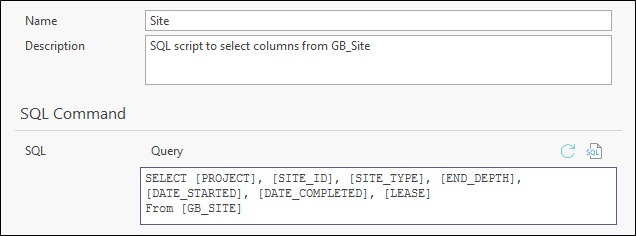
- Fill in the SQL Script Properties form as shown below, then click OK.
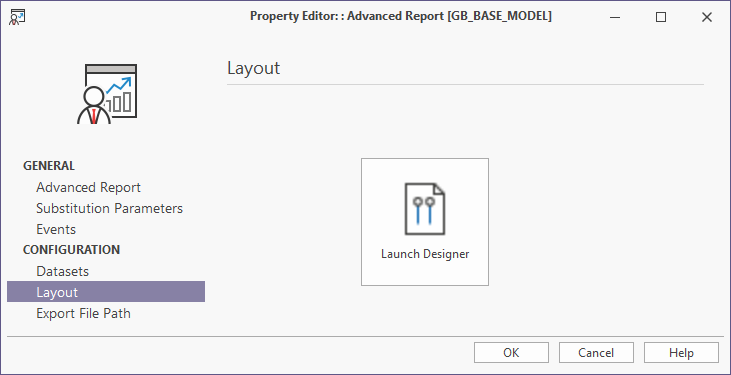
- Select Layout and click on the Launch Designer icon to bring up the Report Designer screen.
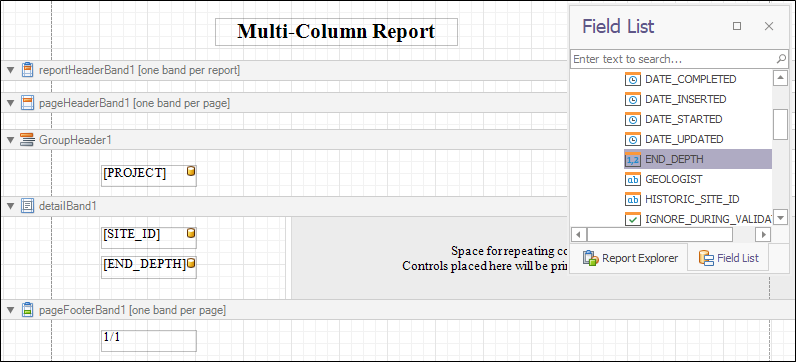
- Drop the SITE_ID and END_DEPTH fields from the Field List window onto the Detail band.
-
Drop the END_DEPTH field from the Field List window onto the created GroupHeader1 band.
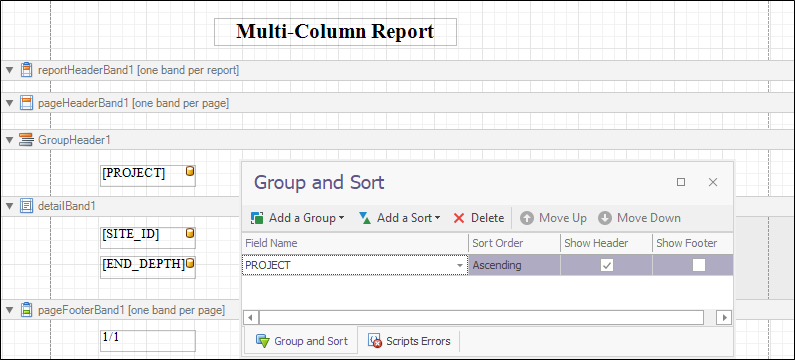
- In the Group and Sort panel, click Add a Group, and choose the PROJECT data field.
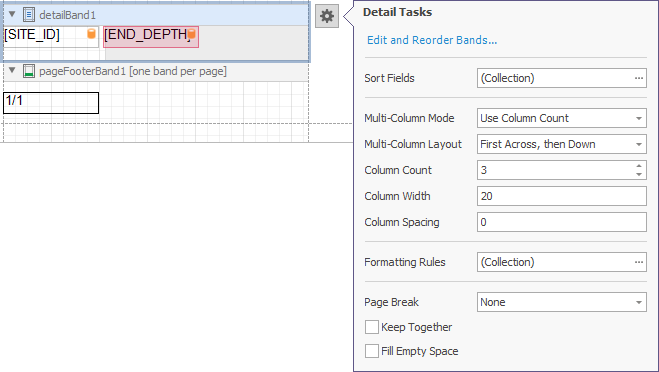
- Click the DetailBand1's smart tag, and set the Mode property to UseColumnCount, Layout to AcrossThenDown, ColumnCount to 3, and ColumnSpacing to 20.
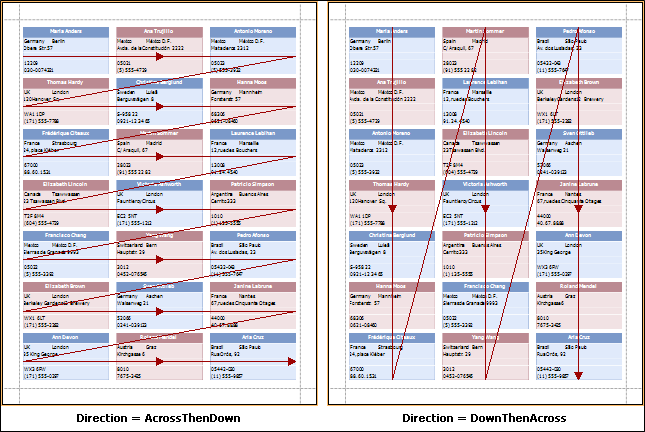
When the multi-column mode is enabled, Detail bands can be repeated in one of two ways: down and then across (in columns), or across and then down (in rows). This option is specified via the Layout property.
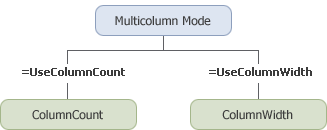
You have two options to define the multi-column layout:
- Column number is fixed, column width is the same and calculated automatically.
For this, the Mode property should be set to UseColumnCount, and the ColumnCount property should be set to the required number of columns.
- Column number is calculated automatically, column width is the same fixed width for all columns.
For this, the Mode property should be set to UseColumnWidth, and the ColumnWidth property should be set to the required column width.
The resulting multi-column layout also depends upon the ColumnSpacing property's value. This value specifies the space between the columns, and is useful when it's necessary to adjust the layout of columns.
The ColumnSpacing property serves to illustrate the space between columns. If you place some controls in the area specified by the ColumnSpacing property, these controls will be printed in the standard way, as though they were placed in the area specified by the ColumnWidth property.
When creating a multi-column report in an unbound mode (for instance, to print a fixed amount of labels or cards in a report), use the DetailCount property, to specify how many times each row should be repeated.
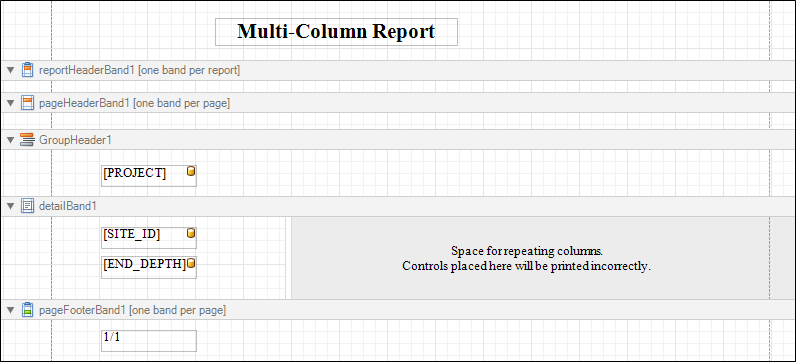
The final design is as follows:
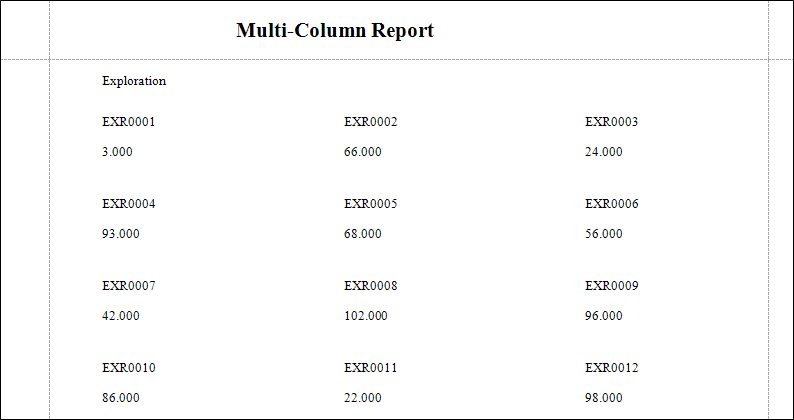
- Click on the Print Preview tab. The output is as shown below:
The ColumnSpacing property serves to illustrate the space between columns. If you place some controls in the area specified by the ColumnSpacing property, these controls will be printed in the standard way, as though they were placed in the area specified by the ColumnWidth property.
When creating a multi-column report in an unbound mode (for instance, to print a fixed amount of labels or cards in a report), use the DetailCount property, to specify how many times each row should be repeated.