Filter Editor
To quickly set a filter based on the values in a column, hover the mouse in the right corner of the column header to display a Filter icon. A list of values for that column is displayed:
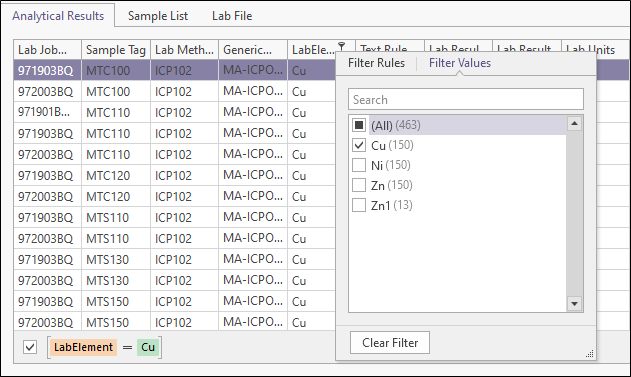
In the list of values, you can also choose to filter where a column contains blank/null values, or non-blank/not null values.
Once a filter has been set, the Filter icon is displayed permanently in the column header, and you can then click on the Edit Filter icon at the lower-right of the Receipt Details window:
![]()
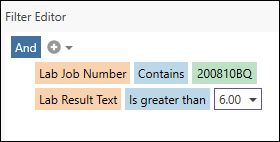
This will open the Filter Editor:
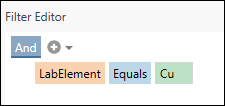
The filter you have set can be extended by adding other filter conditions using right-click logical operator, comparison operator, and operand selection menus.
Insertion
Click on the Add icon in the Editor window, or press the Insert key, or the Add key on the numeric key pad, to add a new filter condition:

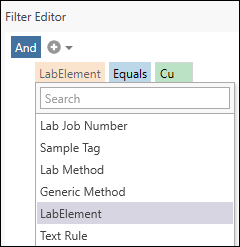
Click on the column label to select a column:
Click on the comparison label to select a comparison operator:
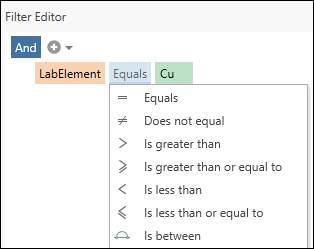
Enter a comparison value:
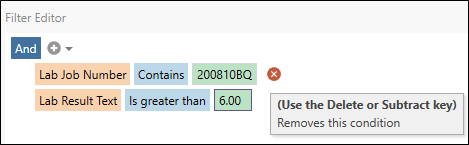
Deletion
Click on the Delete icon in the Editor window, or press the Delete key, or the Subtract key on the numeric key pad, to remove a filter condition:
OK
When you click OK the filter you have defined in the Editor window is applied to the grid and the Editor is closed. The full text of the filter condition is shown at the lower-left of the grid:

You can use the check box to quickly enable and disable the filter.
Cancel
To close the Filter Editor without saving or applying the changes you have made in the Editor, click Cancel.
Apply
To Apply the filter to the grid and keep the Editor window open, click Apply.