Bind a DataGrid to a Dataset
This exercise describes how to add a DataGrid to a form and bind it to a dataset:
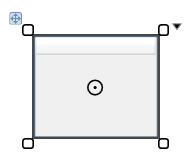
- Click and drag a DataGrid from the Toolbox to the Design Sheet:
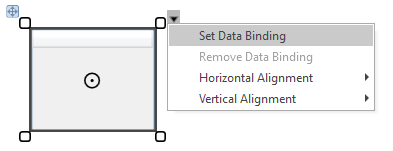
- To bind the DataGrid to the rows and columns of a dataset, select Set Data Binding from the control drop-down menu:
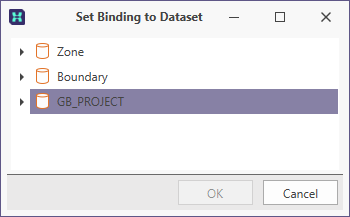
- Choose the dataset to bind to the DataGrid:
- You can click and drag the corners of the grid to resize it.
- By default, Best Fit is applied to the widths of the columns in the grid. Note that, while the row height may be temporarily adjusted, the row height will return to the default setting when the form is closed and subsequently re-opened.
- The columns in the grid are re-sizable by clicking and dragging on the left or right-hand border of a column in the column header.
- To apply a "Best fit" for a column after it has been re-sized, in the column header, double click on the right-hand border of the column.
- The order of the columns in the grid can be changed by clicking in the column header of a column and dragging to the left or right.
- To sort by a particular column, click in the header of that column to toggle ascending and descending order.
- To sort by multiple columns, use SHIFT + click to add a second, third, and subsequent columns to sort by.
- Save your changes and click Run to run the form:
- Click inside the DataGrid to give it focus. You can then use the keyboard arrow keys to navigate up and down between rows, navigate left and right between columns. You can also use keyboard shortcuts to move to the last or first record.
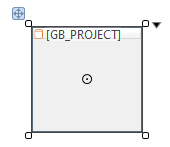
The binding is shown on the DataGrid:
If the dataset binding string is truncated on smaller controls, to see the full string you can hover the mouse over the binding icon.
Note:

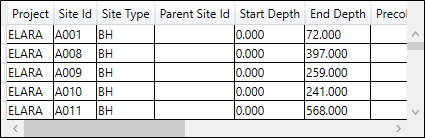
The DataGrid displays the rows and columns in the bound dataset.
A NavigationBar allows you to navigate the DataGrid (and more) using mouse clicks. See: Navigate a Dataset