Hatch Pattern
To add a hatch pattern to a symbology set:
- Click the Add button on the local toolbar of the Symbology Set Property Editor:

- Alternatively, click the Add pattern using wizard button on the local toolbar:

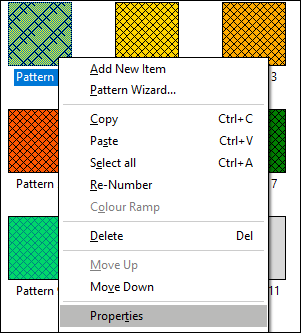
To edit a hatch pattern:
- Right-click and select Properties from the right-click menu:
- Alternatively, click the Properties button for a pattern selected in the Symbology Set Property Editor.

The Hatch Pattern Property Editor is displayed:
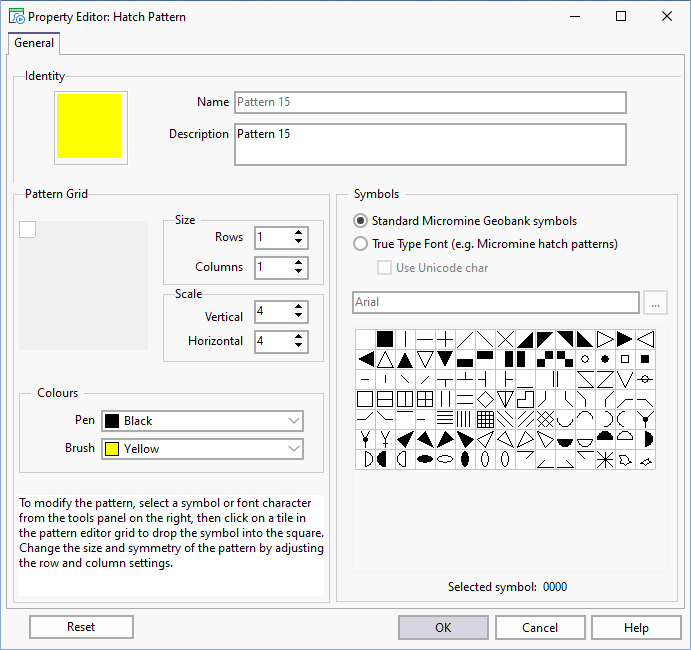
Identity
Set the Name of the pattern and a brief Description.
Symbols
A pattern can be created using standard Micromine Geobank symbols or True Type Fonts.
Use the "True Type Font" browse button to select a True Type Font to complement the standard symbols presented in the symbols list.
The suitability of these fonts (for building symmetrical patterns) will depend on the actual font metrics; therefore the font will need to be designed specifically for this kind of application. (e.g. Micromine Hatch Patterns).
Pattern Grid
To create or modify a pattern, select a symbol or a font character from the Symbols pane on the right, then click on a tile in the Pattern Grid to drop the symbol into the square. You can change the size and shape of the pattern by adjusting the row and column settings.
Grid Rows and Columns
The Pattern Grid can have up to eight rows and eight columns. The number of rows and columns needed for the design depends on the symmetry of the pattern. Simple patterns often require only a single cell, while others may require various permutations of row and column repetitions in order to achieve the desired effect.
Grid Size
The size of the cells can be controlled via the column and row size parameters. Although the row and column dimensions are given in millimetres, the actual sizes depend on a basic resolution constraint and may therefore vary from one output device to the next.
It is best to think of these parameters as denoting relative sizes for the rows and columns of the pattern; i.e., if the column size is greater than the row size, the pattern will be "stretched" horizontally.
Colours
Colour patterns can be compiled by changing the foreground (Pen) and background (Brush) colours. However, keep in mind that the colours produced on the printer may not be identical to those seen on the screen. Furthermore, colour rendition may differ from one output device to the next.
- Colour combinations should be chosen carefully as some colours may tend to "blend" when printed. Try to use dark pen colours on a light background whenever possible.
- Patterns that include ASCII characters should be "stretched" vertically in order to accommodate the underlying font metrics. Use a column size of 2 and a row size of 3 to get the best results. (This prevents the ASCII characters from overlapping with adjoining cells.)
- The Graphic Reporter uses a tiling process to fill the graphic column with a pattern, therefore patterns with larger row and column sizes will display faster.
- Symbol number zero can be used to erase a cell in the matrix.
- Feel free to change the colours of the standard patterns, i.e. those below number 500. However, for the sake of standardisation you should not change the design of these patterns. Rather add or copy a pattern and change the new pattern to suit your needs.
- The standard symbol set is predefined and cannot be changed. Extra symbols can only be added on request.