Areas
Areas are the levels and locations for which quantities are to be reported. The appearance of the Gantt chart can be configured based on the areas you define.
To add Areas to the Gantt Chart:
-
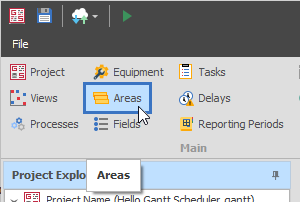
Select Areas from the top ribbon:
-
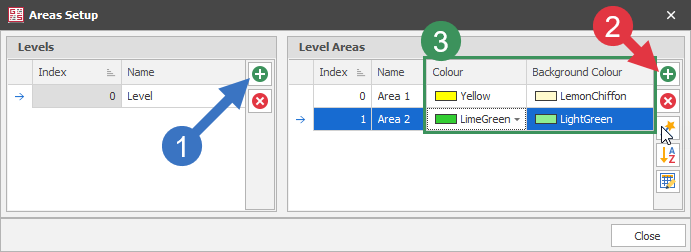
Add Levels and within them add Areas:
-
Click the left green plus button to add a Level.
-
Click the right green plus button to add Areas within the selected Level.
-
Set colours for use in Views (and the Task List).
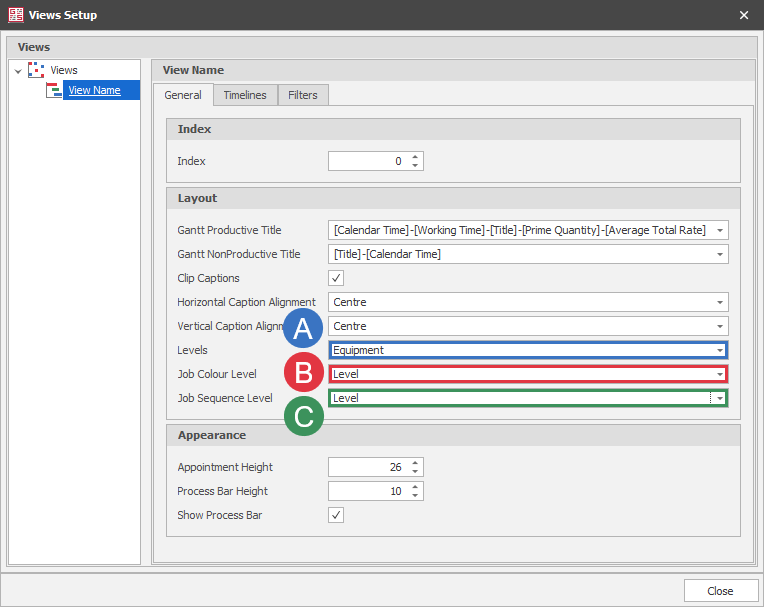
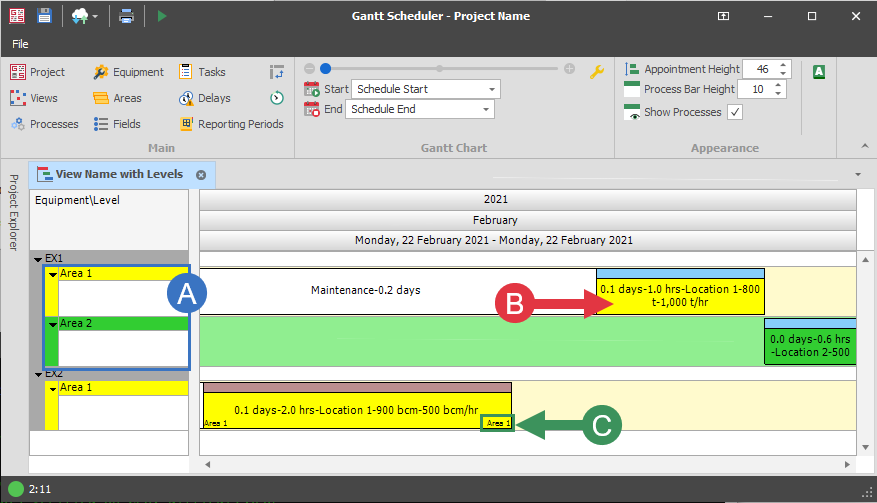
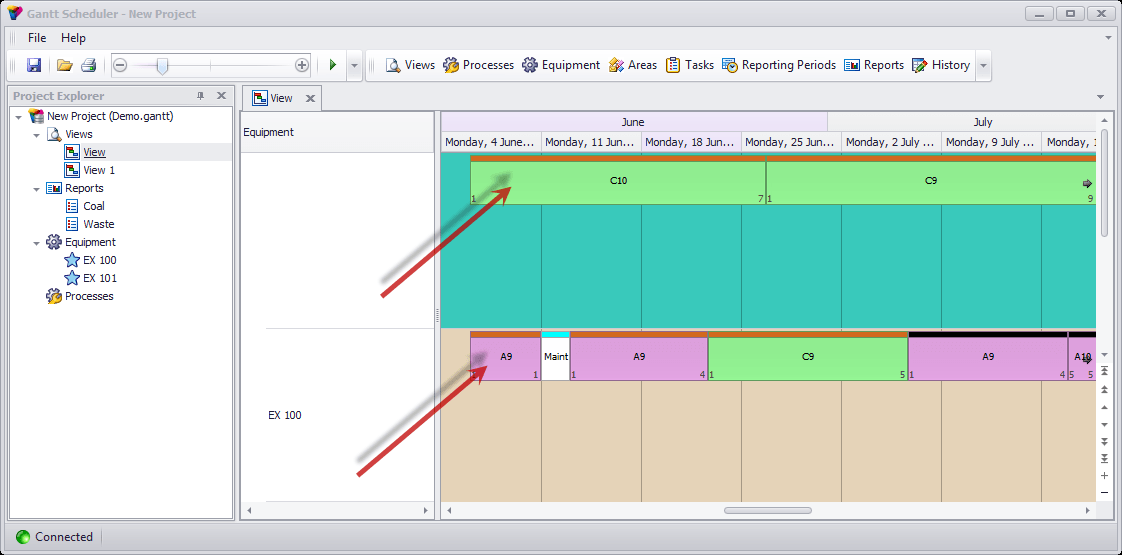
Using Areas in Views
Areas can be used in several locations, matched in the following two images:
-
Levels
-
Job Colour Level
-
Job Sequence Level
Below is a sample of a completed Areas table. Note that lighter colours are better as they will make the Gantt easier to read.
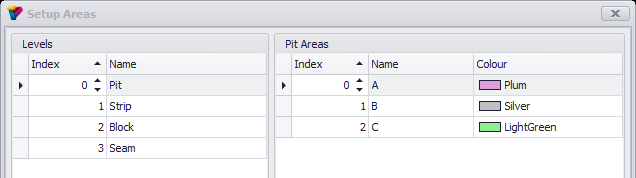
These colours are represented in Views in the table below. Note that the light green and plum match the colours assigned to the pit areas above.
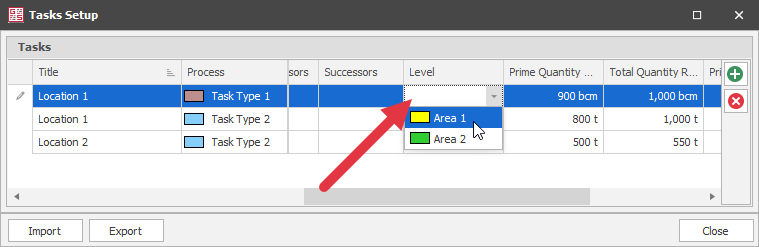
Editing Areas on existing Tasks
Areas can be imported, or added from the drop-down in the Tasks list:
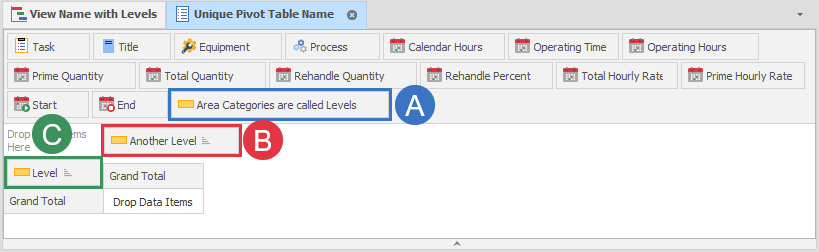
Using Areas in Pivot Tables
Areas are text type elements when used in a Pivot Table:
-
Areas are in the collection of elements by default
-
Used as a column
-
Used as a row