Display Panel
On the right-hand side of the Designer tab, the Display Panel comprises three tabs as described below.
Display tab
In the right Display panel multiple custom options are available. Their explanation is provided in the table below:
| Section | Description |
|---|---|
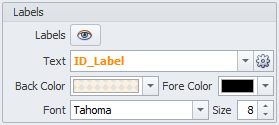
Labels
|
|
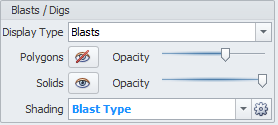
Blasts/Digs
|
|
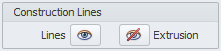
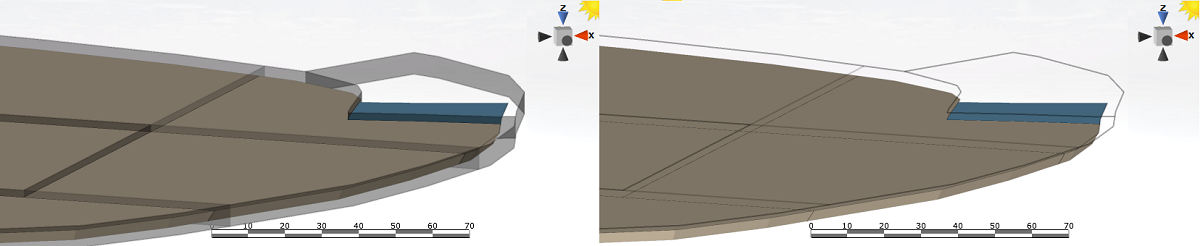
Construction Lines
|
Toggle to display/hide construction Lines and Extrusions.
|
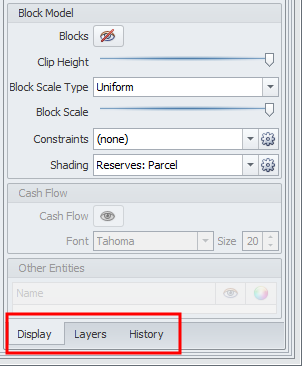
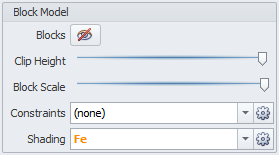
Block Model
|
|
Cash Flows
|
|
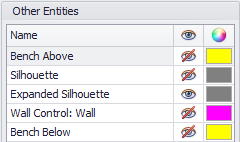
Other Entities
|
Options to display/hide, or change a color of the following entities:
|


Display Panel (Top)
Layers tab
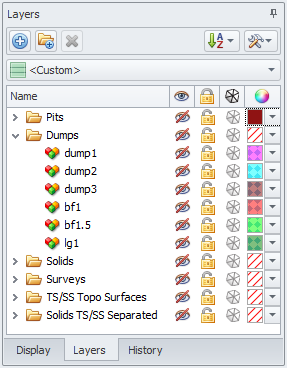
The Layers tab is a common part of all Alastri products. In this panel you may import surfaces and solids triangulations, display and organize them, as well as assign colors, visibility and other properties. For more detailed information on the Layers panel tools, see: Layers/Overlays Panel
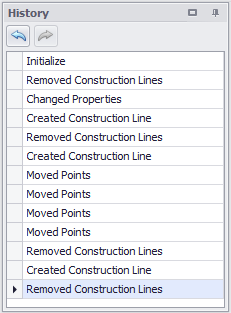
History tab
The History tab is located in the bottom right corner of an application.
Click through the history list to see different past states and revert to any of them.
For a more detailed description of the tools available in the Designer tab, see:
Display Panel (Top)